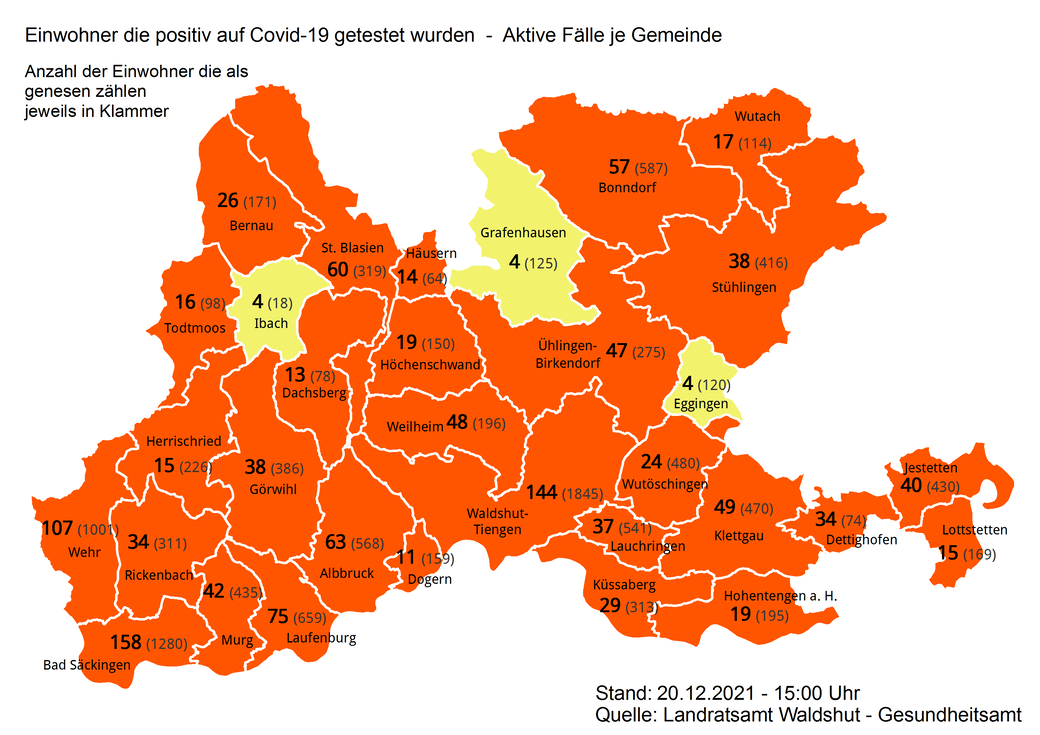
We’re in a pandemic for approximately 2 years by now and sinc the beginning my couny administration is publishing a map that shows the Covid-19 cases per municipality on a regular basis. So I creted a Home-Assistant component that downloads that map together with some data from their website and saves the images. I had the plan to create a slideshow video every now an then from these images to show the change in infections.
The administration staff are obviously bureaucrats which means that they suck at automating things 😏 They seem to create the above mentioned map by hand or at least in a semi-automatic proccess. The overlay texts are always in the same position, they changed over time every now an then but appart from that they are constant. The map on the other hand is almost always in a different region. That made the map jumping around in the video quite a bit and made the overall look and feel very unsatisfying as you can see in this animation (I reduced the number of frames to get the filesize down)
After discussing this problem with some folks of my hackerspace I decided to go for a OpenCV approach to fix this issue.
First of all I create a working directory with a set of subfolders
1mkdir -p opencv-maps/{original,cropped,final}
2cd opencv-maps
3tree -d
4.
5├── cropped
6├── final
7└── original
I then copied all of my original images into the original folder, they all have the same name structure YYYY-MM-DD-Covid19-LK-Waldshut.png.
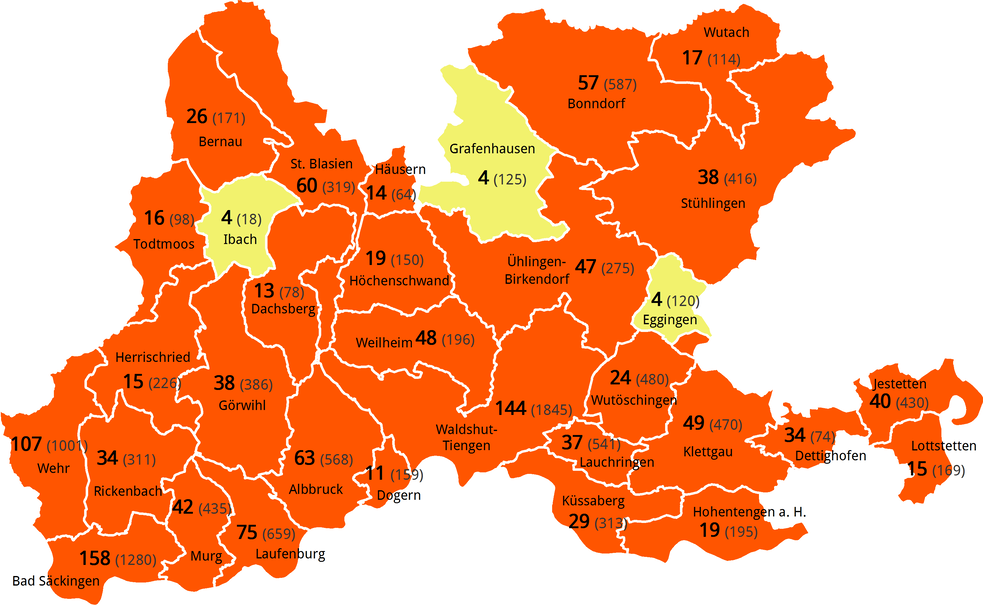
Using Gimp I created a image that only contained the map as a search template.
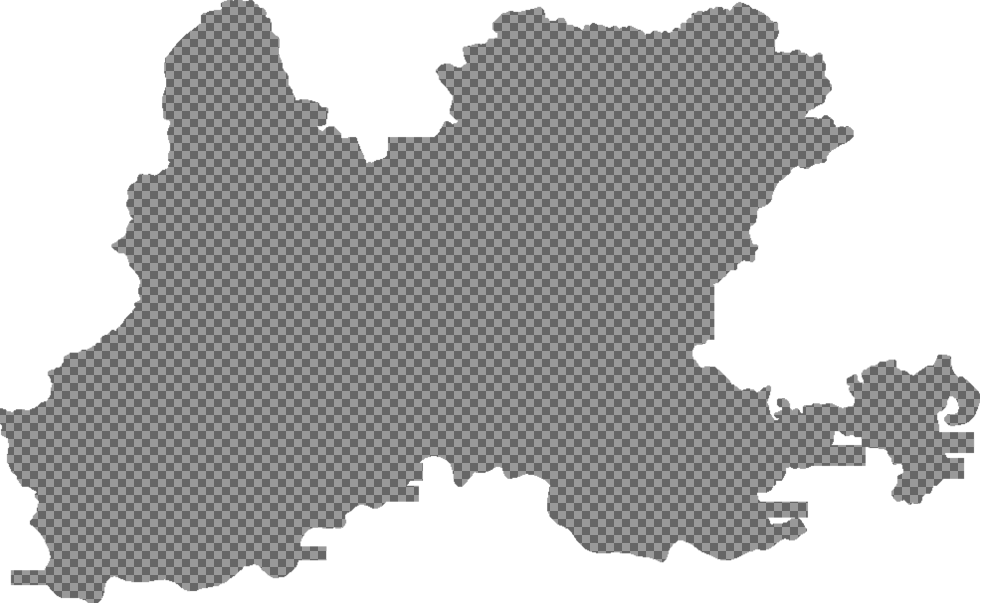
And an overlay that is commletely white with the map area transparent. I use that later on to get rid of the left over text.
Then I started creating the python script to do the work.
I needed to install some dependencies first using pip pip install opencv pillow.
I’ll go over the steps and show the entire script at the end.
Import the dependencies and figure out the script path 🔗
1import os
2from datetime import datetime as dt
3
4import cv2
5from PIL import Image, ImageDraw, ImageFont
6
7BASEPATH = os.path.abspath(os.path.dirname(__file__))
Read the template image, convert it to black and white and get its size 🔗
1# read needle image as grayscale
2template = cv2.imread(os.path.join(BASEPATH, "map.png"), 0)
3# convert all non white pixels to black
4template[template != 255] = 0
5# get the width and height of the map
6w, h = template.shape[::-1]
Iterate over all original images and get the date from the filename 🔗
1# iterate over all the original images
2for image in os.listdir(os.path.join(BASEPATH, "original")):
3
4    print(f"Proccess original image {image}")
5    # parse the date from the filename
6    date = dt.strptime(image[:10], "%Y-%m-%d").strftime("%d.%m.%Y")
Read the original image, create a black and white copy 🔗
1    # read the original image in RGB
2    rgb = cv2.imread(os.path.join(BASEPATH, "original", image))
3    # create a gray scale copy of it
4    gray = cv2.cvtColor(rgb, cv2.COLOR_BGR2GRAY)
5    # convert all non white pixels to black
6    gray[gray != 255] = 0
Search for the black and white template in the black and white original 🔗
1    # do a template search of the black and white map on the black and whit original
2    res = cv2.matchTemplate(gray, template, cv2.TM_CCOEFF_NORMED)
Get the best match from the set of serach results 🔗
1    # get the best result from all the results
2    min_val, max_val, min_loc, max_loc = cv2.minMaxLoc(res)
Get the coordinates of the search result bounding box 🔗
1    # get the bounding box of the map in the original
2    top_left = max_loc
3    bottom_right = (top_left[0] + w, top_left[1] + h)
Crop the original to the bounding box and save the image 🔗
1    # crop the original to the bounding box
2    rgb = rgb[top_left[1] : top_left[1] + h, top_left[0] : top_left[0] + w]
3    # save the croped image
4    cv2.imwrite(os.path.join(BASEPATH, "cropped", f"cropped-{image}"), rgb)
Overlay the cropped image with the overlay to get rid of the left over text 🔗
1    # load the croped image
2    cropped_map = Image.open(os.path.join(BASEPATH, "cropped", f"cropped-{image}"))
3    # load the overlay
4    overlay = Image.open(os.path.join(BASEPATH, f"overlay.png"))
5    # paste the overlay over the cropped map
6    cropped_map.paste(overlay, (0, 0), overlay)
Write the date in the top left corner and save the final image 🔗
1    # write the date in the top left corner with a slight offset of (10, 10)
2    draw = ImageDraw.Draw(cropped_map)
3    font = ImageFont.truetype(os.path.join(BASEPATH, "ubuntu.ttf"), 30)
4    draw.text((10, 10), date, (0, 0, 0), font=font)
5    # Save the final result
6    cropped_map.save(os.path.join(BASEPATH, "final", f"{image}"))
The full script 🔗
 1import os
 2from datetime import datetime as dt
 3
 4import cv2
 5from PIL import Image, ImageDraw, ImageFont
 6
 7BASEPATH = os.path.abspath(os.path.dirname(__file__))
 8
 9# read needle image as grayscale
10template = cv2.imread(os.path.join(BASEPATH, "map.png"), 0)
11# convert all non white pixels to black
12template[template != 255] = 0
13# get the width and height of the map
14w, h = template.shape[::-1]
15
16# iterate over all the original images
17for image in os.listdir(os.path.join(BASEPATH, "original")):
18
19    print(f"Proccess original image {image}")
20    # parse the date from the filename
21    date = dt.strptime(image[:10], "%Y-%m-%d").strftime("%d.%m.%Y")
22
23    # read the original image in RGB
24    rgb = cv2.imread(os.path.join(BASEPATH, "original", image))
25    # create a gray scale copy of it
26    gray = cv2.cvtColor(rgb, cv2.COLOR_BGR2GRAY)
27    # convert all non white pixels to black
28    gray[gray != 255] = 0
29
30    # do a template search of the black and white map on the black and whit original
31    res = cv2.matchTemplate(gray, template, cv2.TM_CCOEFF_NORMED)
32    # get the best result from all the results
33    min_val, max_val, min_loc, max_loc = cv2.minMaxLoc(res)
34
35    # get the bounding box of the map in the original
36    top_left = max_loc
37    bottom_right = (top_left[0] + w, top_left[1] + h)
38
39    # crop the original to the bounding box
40    rgb = rgb[top_left[1] : top_left[1] + h, top_left[0] : top_left[0] + w]
41    # save the croped image
42    cv2.imwrite(os.path.join(BASEPATH, "cropped", f"cropped-{image}"), rgb)
43
44    # load the croped image
45    cropped_map = Image.open(os.path.join(BASEPATH, "cropped", f"cropped-{image}"))
46    # load the overlay
47    overlay = Image.open(os.path.join(BASEPATH, f"overlay.png"))
48    # paste the overlay over the cropped map
49    cropped_map.paste(overlay, (0, 0), overlay)
50
51    # write the date in the top left corner with a slight offset of (10, 10)
52    draw = ImageDraw.Draw(cropped_map)
53    font = ImageFont.truetype(os.path.join(BASEPATH, "ubuntu.ttf"), 30)
54    draw.text((10, 10), date, (0, 0, 0), font=font)
55    # Save the final result
56    cropped_map.save(os.path.join(BASEPATH, "final", f"{image}"))
And last but not least, the resulting animation (reduced frame count) 🔗
There are still a few frames that are blury but thats because they published images with a low resolution on some days. The result is not a 100% perfect but I’m pretty statisfied with it over all 😄