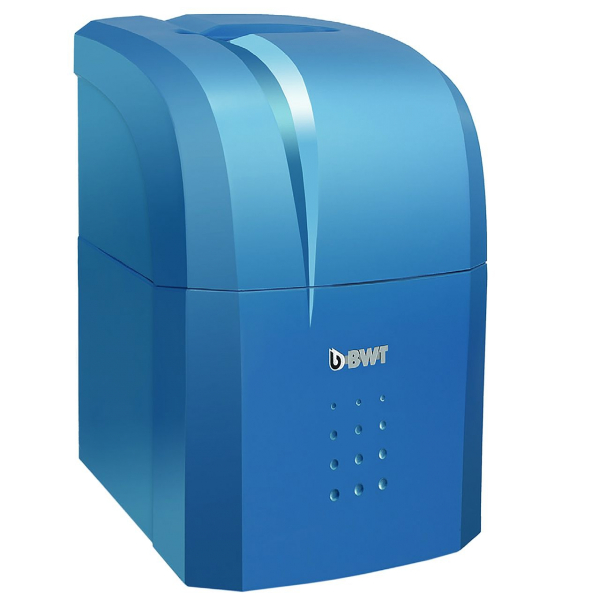
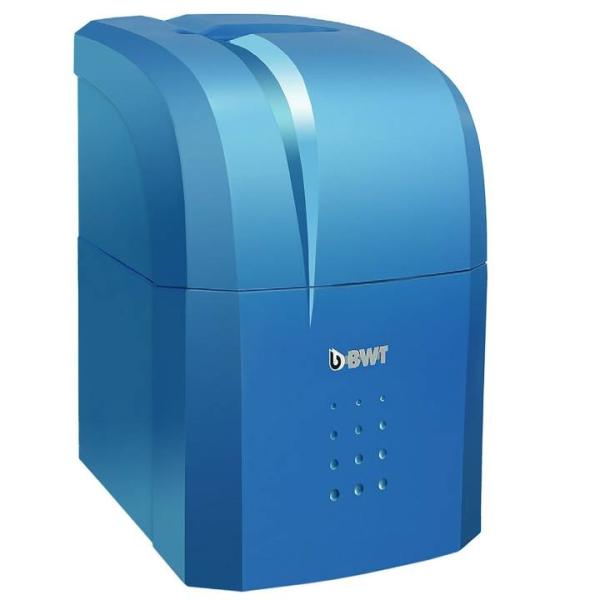
I run a BWT AQA Life S decalcification system because where I live we have enormous amounts of calcium in our tap water. In the past I had multiple occasions where the system malfunctioned and spilled water in my basement where it is located. The system is not smart by any means, it just starts to beep when ever attention is needed. Unfortunately this beep is not really audible in the living area of the house. Thats also the case when I need to top up the regenartion salt which is the most common “error”.
As the device itself does not have an interface I could use to get information out of, I make use of the fact that the display changes color depending on the state. It blue in normal operation, green-ish yellow in regeneration mode and red in error mode.
Thats enough information for me, conection to the control electronics itself is unecessary in my opinion.
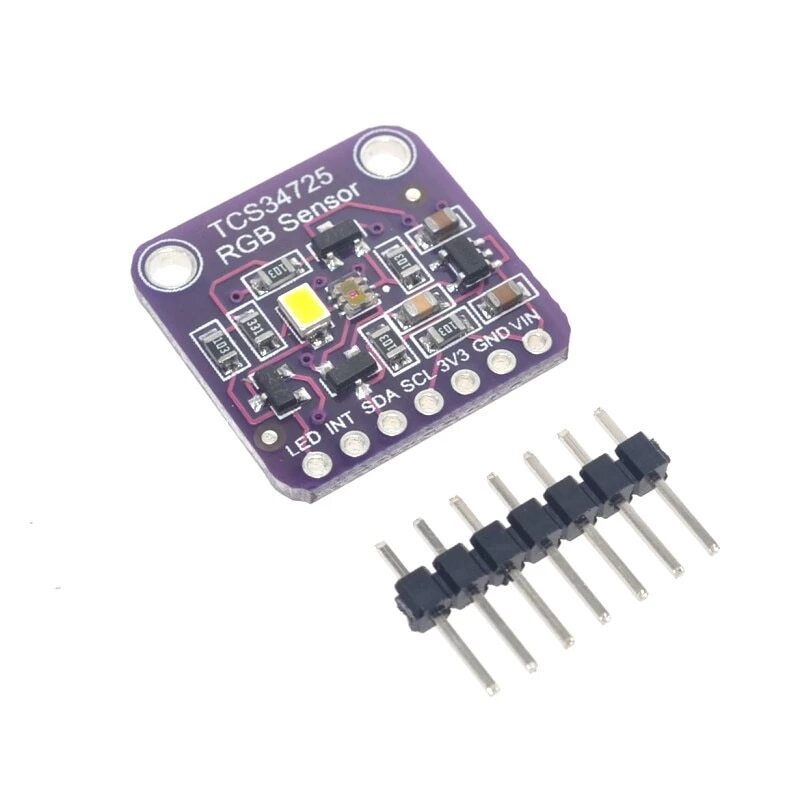
I bought an Adafruit RGB Color Sensor with IR filter and White LED which uses the AMS TCS34725 Color Sensor as its main part.
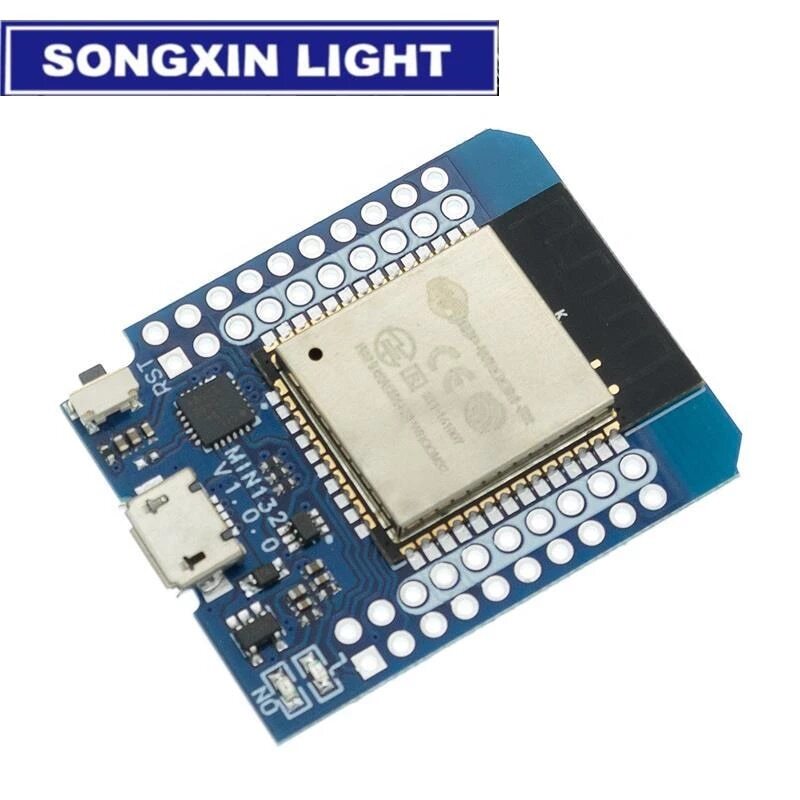
That is connected to an MH-ET LIVE MiniKit ESP32 which is my favourite ESP32 dev board because of its small form factor and low price.
Wiring 🔗
The wiring is pretty straight forward
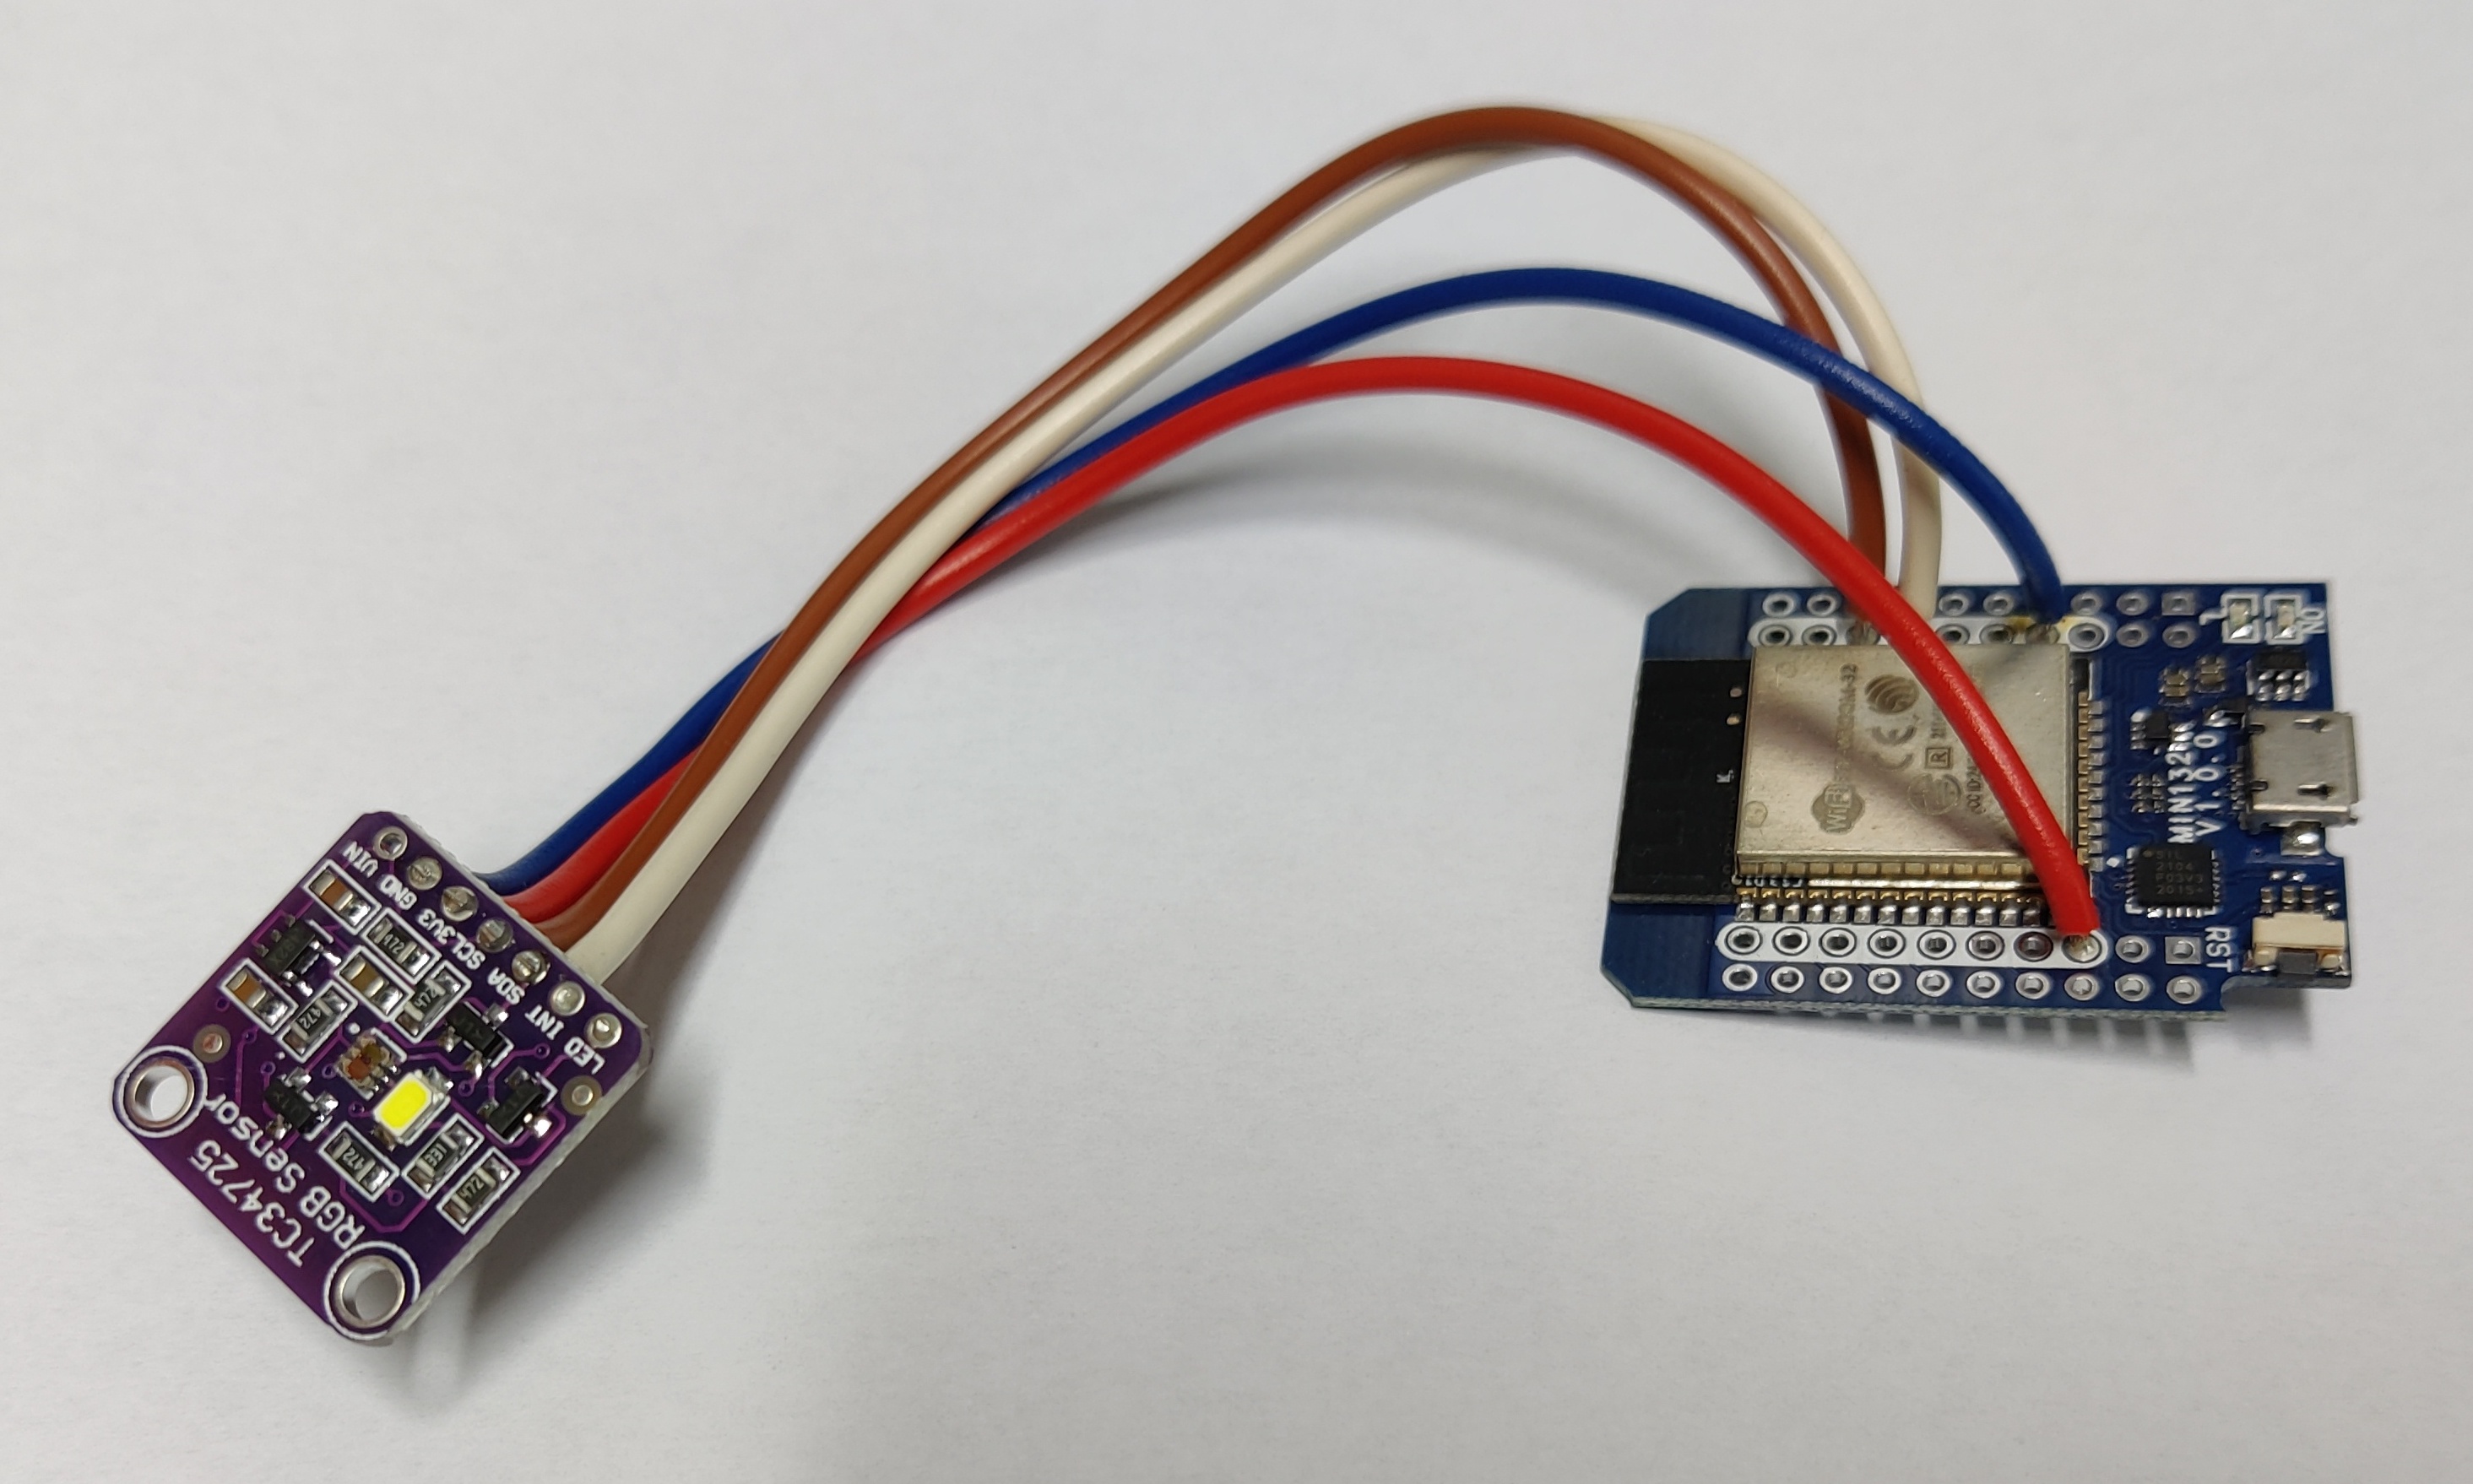
- 3.3V <-> 3V3
- GND <-> GND
- IO21 <-> SDA
- IO22 <-> SCL
I added a bridge wire from GND to LED on the TCS34725 board to deactivate the build in LED as I don’t need it.
Code 🔗
I initially ran a self written REST implementation but decided to go for ESPhome because it integrates nicely with Home-Assistant and handles the Wifi stuff like captive portal, reconnect etc. perfectly.
 1---
  2esphome:
  3  name: bwt
  4  platform: ESP32
  5  board: mhetesp32minikit
  6
  7# WiFi connection
  8wifi:
  9  ssid: !secret wifi_ssid
 10  password: !secret wifi_password
 11  ap:
 12    ssid: BWT-Hotspot
 13    password: hotspotpw
 14
 15captive_portal:
 16
 17# Enable logging
 18logger:
 19
 20# Enable Home Assistant API
 21api:
 22
 23# Enable over-the-air updates
 24ota:
 25
 26# Enable Web server
 27web_server:
 28  port: 80
 29
 30i2c:
 31  sda: 21
 32  scl: 22
 33  scan: true
 34  id: i2cbus
 35
 36sensor:
 37  - platform: tcs34725
 38    red_channel:
 39      id: bwt_red
 40      name: "BWT Red"
 41    green_channel:
 42      id: bwt_green
 43      name: "BWT Green"
 44    blue_channel:
 45      id: bwt_blue
 46      name: "BWT Blue"
 47    clear_channel:
 48      id: bwt_clear
 49      name: "BWT Clear"
 50    illuminance:
 51      id: bwt_illuminance
 52      name: "BWT Illuminance"
 53    color_temperature:
 54      id: bwt_color_temperature
 55      name: "BWT Color Temperature"
 56    gain: 60x
 57    glass_attenuation_factor: 5.0
 58    integration_time: 614ms
 59    update_interval: 10s
 60
 61  - platform: wifi_signal
 62    name: "WiFi Signal Sensor"
 63    update_interval: 60s
 64
 65text_sensor:
 66  - platform: wifi_info
 67    ip_address:
 68      name: IP Address
 69    ssid:
 70      name: Connected SSID
 71    bssid:
 72      name: Connected BSSID
 73    mac_address:
 74      name: Mac Wifi Address
 75    # scan_results:
 76    #   name: Latest Scan Results
 77
 78  - platform: version
 79    name: "ESPHome Version"
 80
 81  - platform: template
 82    name: "BWT State"
 83    lambda: |-
 84      if (id(bwt_blue).state > id(bwt_green).state  && id(bwt_blue).state > id(bwt_red).state) {
 85        return {"Normal"};
 86      } else if (id(bwt_green).state > id(bwt_red).state  && id(bwt_green).state > id(bwt_blue).state) {
 87        return {"Regeneration"};
 88      } else if (id(bwt_red).state > id(bwt_blue).state && id(bwt_red).state > id(bwt_green).state) {
 89        return {"Error"};
 90      } else {
 91        return {"Unknown"};
 92      }
 93    update_interval: 5s
 94
Result 🔗
I temporarily mounted the boards with tape to the decalcification system but I plan to create a 3D printed mount for it.

Adding the sensor to Home-Assistant ist very easy, the ESPHome integration is absolutely perfect!
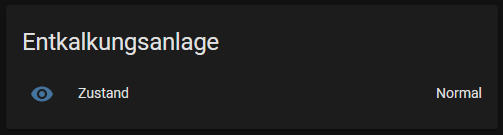
I also added an automation to Home-Assistant that sens me a notification whenever the state changes to error.